Video Editors & Timeline Filmstrips - Part 2

Hi 🙋♂️, I am Aditya. I am full-stack developer from Mumbai. I am a graduate in Software Engineering from Arizona State University. I write about niche technical topics after extensively researching about them so that you don't have to! I breakdown & reverse-engineer complex architecture and workflows so that indie developers could make an informed decision about using them. I also run u/redditspeedbot on Reddit.
In my last blog, I explained the need for filmstrips and how to create them. But that was just the tip of the iceberg. Professional video editors have complex use cases on the timeline and a filmstrip falls under that. A timeline can zoom, a layer can be split, there are network constraints and many more. How do they handle these? Canva, WeVideo, Clipchamp, and Veed.io all have their approaches to solving these. In this blog, I will be addressing how editors place filmstrips on their layers. Let's start.
Filmstrips & Zoom
What do you mean by zoom? Editor timelines are usually capable of increasing or decreasing their time precision using zooms. Something like this.

To handle such zoom, simply placing a filmstrip on a layer would not work for video editors. A layer that has been zoomed in could have one frame repeated multiple times since the time frame over a certain area is much smaller. A generated filmstrip is constrained by the number of frames it has generated at arbitrary intervals of time.
For example, for a 100-second video, a generated filmstrip has 10 frames in it captured every 10 seconds with each frame being 100 pixels in width. But since a zoomed-in layer could have a precision of 1 second for every 100 pixels, I will be showing the first frame at least 10 times in succession to keep the frame of reference accurate.
Or if the layer has a precision of 20 seconds for every 100 pixels, I will have to show every alternate frame from my filmstrip to keep it accurate.
Because of this, a generated filmstrip can be directly placed on a layer under 2 very specific conditions:
The width of the filmstrip image must match the width of the layer.
The layer must exactly represent the time for which the frames were generated. This means it should start and end exactly such that the frames remain accurate.
This means, as soon as a user zooms in, the layer on the screen will be stretched and the filmstrip will have no more frames to show and the rest of the layer would remain empty. Or if they zoom out, the layer will shrink and the filmstrip would cut before it reaches some of the final frames.
This brings inaccuracy to the portrayal of a video layer's filmstrip, thus defeating its purpose. If generated filmstrips work only under specific conditions then what is the point of making them?
How do video editors use Filmstrips?
Let's discuss what professional video editors do to place such generated filmstrips in sync with their timelines.
Placement techniques
Technique 1 - Background Image & Background Position
Editors like WeVideo and Flixier use a CSS-based approach to place these generated filmstrips in their layers.
background-image is a CSS property that allows you to place an image as the background of a div element. It is similar to keeping an img element inside a div element, but the advantage is that you can specify multiple images in a single background-image property. For instance, this is a valid background-image property value.
background-image: url(.../abc.png),url(.../def.png),url(.../ghi.png);
But which image will it show if listed like this? It will only use the image in the first url(). So what's the advantage? If you combine this with background-size and background-position , you can mention the position of each image inside a defined space. Let me show you.
background-image: url(.../abc.png),url(.../abc.png),url(.../abc.png);
background-size: 150px 50px;
background-position: 0px 0px,50px -50px,100px -100px;
background-repeat: 'no-repeat'; // Since default is 'repeat'
In the above snippet,
I am using the same image multiple times in
background-image.With
background-sizeyou are defining that each image has a size of 150px width and 50px height. If you want to define a different size for each background you can do it with comma-separated values.With
background-position, you are defining the left and top position of each image inbackground-image. The first image should be placed at the 0px top and 0px left position. The second image should be placed at 100px left and -50px top and so on.
This kind of placement generally would look something like this.
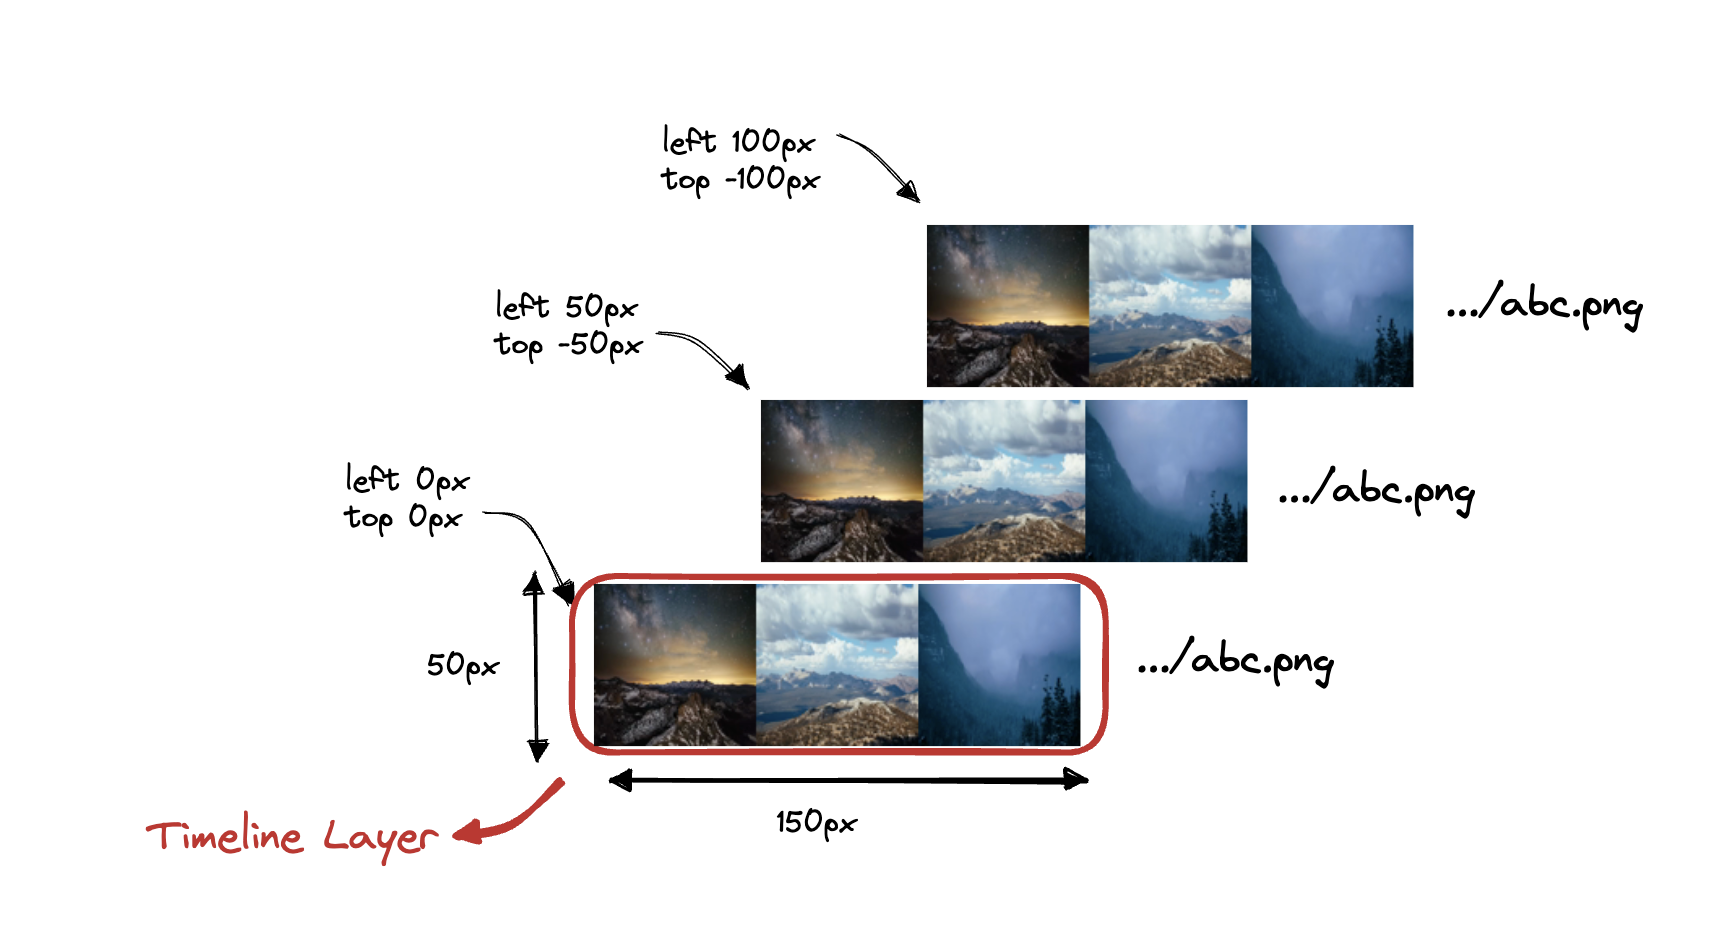
But wait, the filmstrips are outside the layer, so how are they visible? You are right, they aren't. And even if we keep top as 0px, the first image would stack above the other images. So what's the point of this approach?
For this approach to work, we need the filmstrips to be generated vertically instead of horizontally. Something like this.
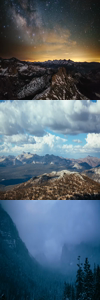
Now with the same CSS, we'll get this.
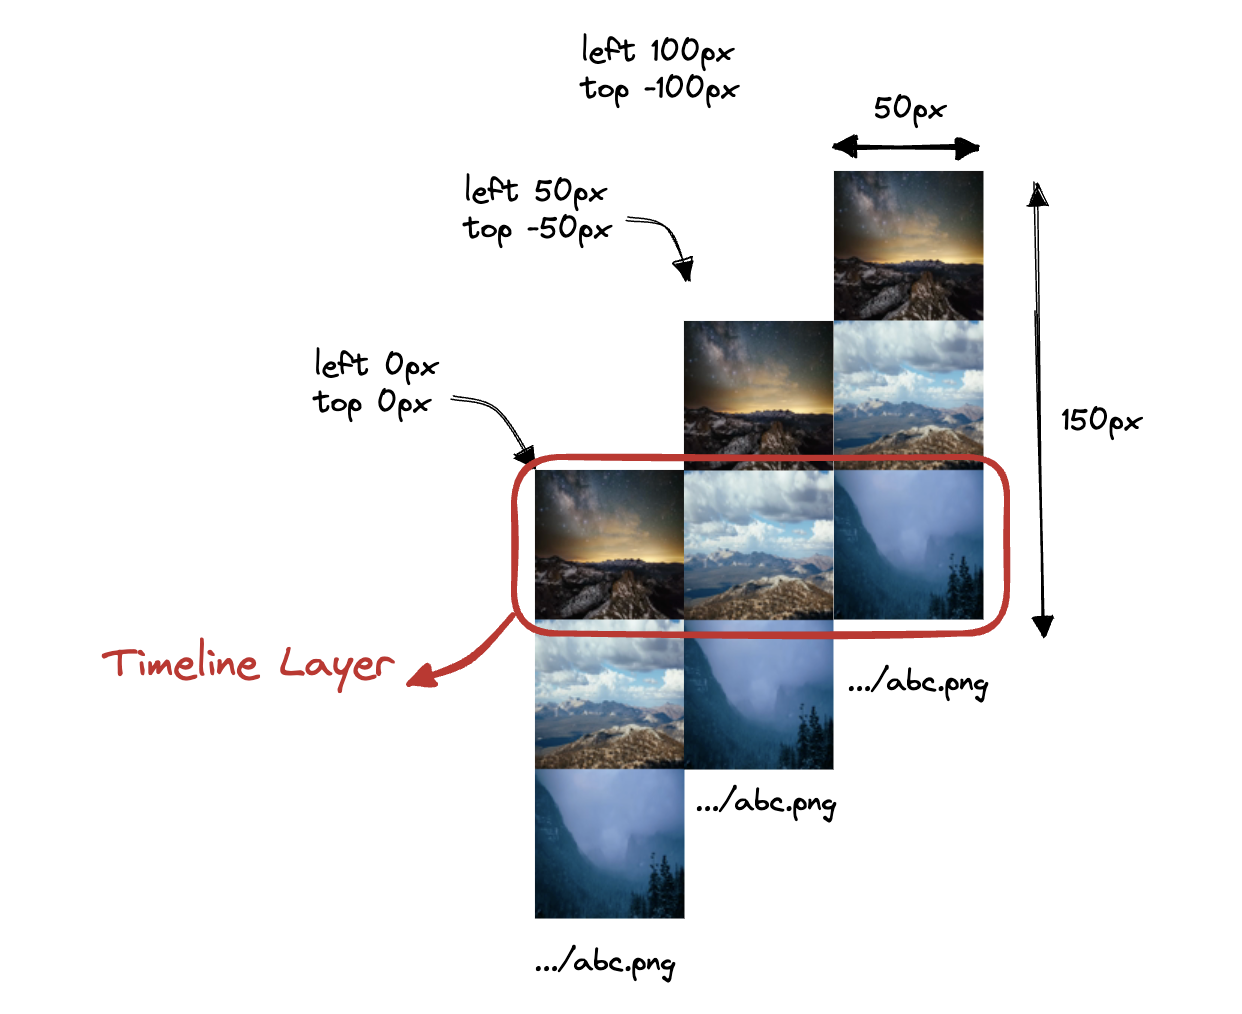
And there you go, you have control over individual frames on a layer. You can repeat or skip as many frames as you want. All of this is possible with a single filmstrip image. This way you have decoupled the time constraint between a layer and a filmstrip. As long as you know the dimensions and intervals at which the frames were captured on a generated filmstrip, you can select a particular frame for portraying on a timeline layer.
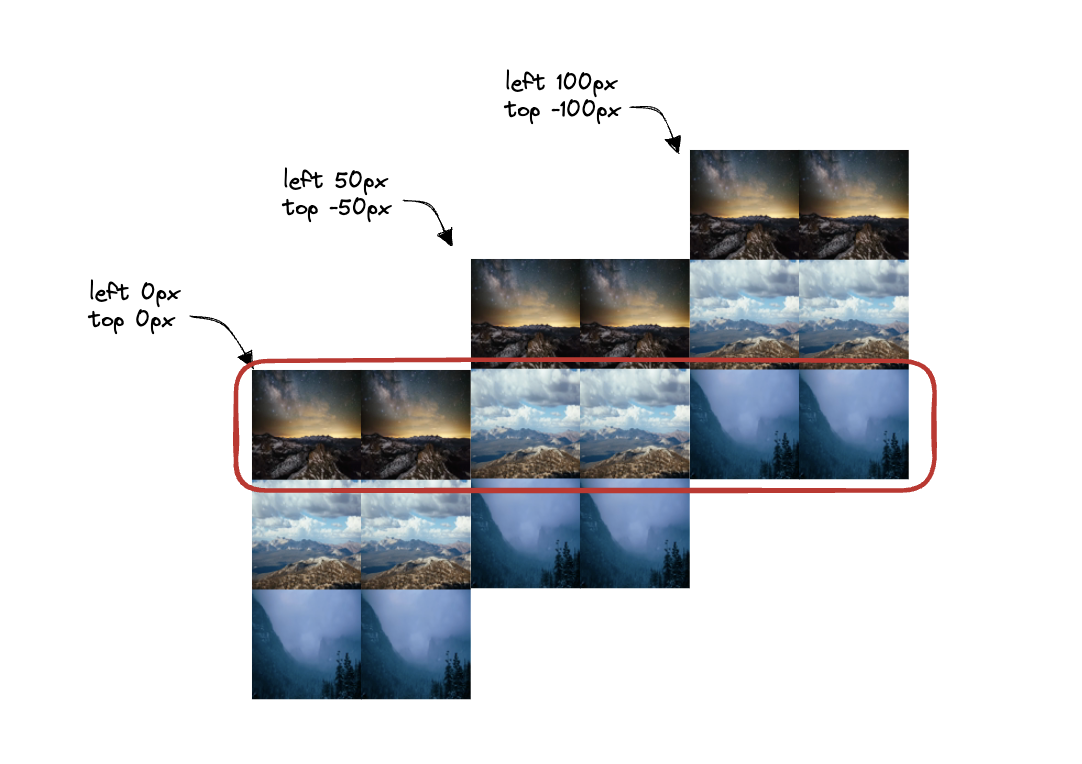
If the layer is stretched out, you can repeat frames from the filmstrip like this
background-image: url(.../abc.png),url(.../abc.png),url(.../abc.png),url(.../abc.png),url(.../abc.png),url(.../abc.png);
background-size: 150px 50px;
background-position: 0px 0px,0px 0px,50px -50px,50px -50px,100px -100px,100px -100px;
background-repeat: 'no-repeat';
Technique 2 - img Tag
Editors like Canva use img elements to place filmstrips on their layers. For the above approach, you only need a single div with background-image and you can position the entire filmstrip. But if you find that cumbersome and need more granular control over each frame, you can do it like Canva.
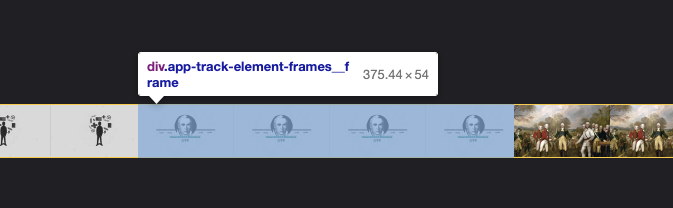
Canva uses a 6x5 mosaic as a filmstrip and uses an img element for each frame on the layer. It uses basic CSS properties like position, top, and left to adjust the mosaic inside the img element. Canva's mosaic looks like this.
It places this mosaic inside the img element with position: absolute and respective left and top to show exactly the frame it wants to at that point on the layer. Something like this.
position: absolute;
height: 600%;
width: 500%;
left: -400%;
top: -100%;
Technique 3 - Background-image and Background-repeat
Editors like Clideo don't generate a single filmstrip image but generate individual frames as separate images. This means they capture frames at intervals but don't stitch them into a single image rather they keep them separate. Now they use multiple div elements on the layer each with background-image and background-repeat to load frames into them.
background-image: url(.../abc.png);
background-repeat: 'repeat-x';
Here they put a repeat-x on the background and keep repeating the background for stretched-out layers. They keep the div width exactly such that they don't cut off the frames that are on repeat. And voila!
Technique 4 - Canvas Element
Editors like Wave.video, Veed.io, Clipchamp, Kapwing, Capcut, etc. use the canvas element to place their filmstrips. Since they cannot be inspected or reverse-engineered from the DOM directly, there is no way to know for sure but they are most probably applying one of the above techniques to get their result and just place them inside a canvas.
Next part - Workflow challenges
In this part, we have covered all of how you can place a filmstrip on the layer reliably and accurately. But the workflow is still not complete. For an online editor to generate and display a filmstrip on the layer, it would take at least a few seconds. Till then will the layer be empty? In the next part, we'll discuss how to solve UX issues like these. See ya!
Read the next part here 👉 Video Editors & Timeline FIlmstrips - Part 3 😄
Credits
Cover Image by Freepik
The timeline zoom video was taken from Veed.io
Filmstrip & Mosaic was created out of https://youtu.be/ZwzY1o_hB5Y


